LogoLogo
DownloadGet a QuoteConnect with Us
  • Introduction
    • What is Thinfinity® Workspace
    • About this Document
  • Product Overview
    • Architecture Components
    • Load Balancing
    • Deployment Scenarios Overview
    • Connectivity
      • Remote Desktop Access
      • Remote Application Access
      • Terminal Access
    • RPAM and Resource Reservation
    • Cloud Manager
    • Audit Logging
    • User Analytics
  • Getting Started
    • Basic Installation
    • Accessing Thinfinity® Workspace in Your Browser
    • Connection Types
      • Remote Desktop Connection
      • Remote App Connection
      • Remote Intranet Web App Connection
      • Telnet SSH Connection
    • Configuration
    • Security
    • Beyond the Basics
  • Reference
    • Thinfinity® Workspace Configuration Manager
      • General Tab
      • Broker Tab
      • Authentication Tab
        • Methods Tab
          • API Access Settings
          • RADIUS Settings
          • SAML Settings
          • OAuth 2.0 Settings
          • External DLL
        • Mappings Tab
        • 2FA Tab
        • Directory Services Tab
          • Local Computer Users Settings
          • Local Computer Users
          • Local Thinfinity IdP Settings
          • Computer Domain Settings
          • External Domain Settings
      • Access Profiles Tab
        • The [+] Access Profile
        • Desktop Access Profiles
          • RDC Access Profile
            • Core Settings
            • User Experience Settings
          • ThinVNC Access Profile
          • VNC/RFB Access Profile
            • User Experience Settings
        • Application Access Profiles
          • Remote App Access Profile
            • Core Settings
          • Web App Access Profiles
            • Web Link Access Profile
            • WAG Access Profile
          • VirtualUI App Access Profile
            • Core Settings
        • Web Folder Access Profile
        • Terminal Access Profiles
          • z/Scope Classic Access Profile
          • Telnet/SSH Access Profile
            • Core Settings
            • User Experience Settings
        • Label
        • Access Control Settings
      • VirtualUI Tab
      • Folders Tab
      • Permissions Tab
      • Protection Tab
      • Notifications Tab
      • Database Tab
      • z/Scope Classic Tab
      • Services Tab
      • License Tab
    • Thinfinity® Workspace Web Manager
      • Access Profiles
        • Desktop Access Profiles
          • RDC Access Profile
            • Core Settings
            • User Experience Settings
          • VNC
            • Core Settings
            • User Experience Settings
          • Thinfinity VNC
            • Core Settings
        • Application Access Profiles
          • Remote App
          • Web App
            • Web Application Gateway (WAG)
            • Web Link
          • VirtualUI App
        • Web Folder Access Profile
          • Core Settings
        • Terminal Access Profiles
          • Telnet SSH Terminal
          • Multi Terminal
        • Access Control Settings - Web Manager
      • Addons
        • Analytics
        • Brokers Monitor
        • Audit Log
        • Recordings
        • Members
        • Reports
        • Resource Reservation
    • Thinfinity® Gateway
  • Configuration
    • RBAC and Resource Reservation
      • Configuring the Resource Reservation Feature
      • Role Definition with Permissions Groups
      • Granting Approver or Requester Role to a User
      • Enabling Resource Reservation
      • Granting a User Access to a Single Access Profile
      • Granting Access Permissions for a Group of Access Profiles
      • Grouping Access Profiles Under a Label
      • Restricting Access to a Resource
      • Exception Days - No Booking Allowed
      • Booking a Resource
      • Approving a Booking Request
    • Security
      • Managing the SSL Certificate
        • Creating a Self-Signed Certificate
        • Creating a CA Certificate Request
        • Importing a Certificate
        • Using ACME Certificates
      • Session Recording
        • Viewing Recorded Sessions
    • User Experience
      • Bidirectional Audio Redirection
      • Customizing the Thinfinity® Workspace Toolbar
        • Using web.settings.js
        • Using the SDK 'connect' Method
        • Extend the Thinfinity® Workspace Toolbar
      • Customize Translation
      • GFX and H.264 Support
        • Enabling H.264 for an Access Profile
        • Preparing a Remote Desktop for H.264 Support
      • How to Enable Multi-Monitor
      • Multi-Touch Redirection
      • Redirecting Devices
      • Remote FX
      • Enhanced Browser and DPI Support
        • Display Model Inheritance
        • Properties Reference Tables
        • The Calculation Process
        • Example
    • Extended Features
      • Remote Active Directory
        • How to Install and Configure Thinfinity® Remote AD Services
        • Active Directory Credentials Mapping
      • WebBridge - Direct File Transfer
        • Installing Thinfinity® WebBridge
        • Using WebBridge
      • Silent Install Options
    • License Server Manager
      • Proxy Activation
      • Get a New Trial Serial Number
      • Activate a Serial Number Online
      • Activate a Serial Number Offline
      • Registering a License with License Server Manager
  • Deployment Scenarios
    • Single Machine Deployment
    • Distributed Deployment
    • Multitenant - Several Subdomains
    • Implementing Secondary Brokers Scenarios
      • Resource Pools
      • OT Networks
      • Multitenant - Single Domain
  • Integrations
    • Integrating Thinfinity® Workspace
    • External Authentication
      • API Key
    • Customizing the Web Interface
      • Customizing the Logo
      • Organizing custom files
    • One-Time-URL (OTURL)
      • Customizing OTURL Connection
      • Enabling Features
  • Mobile Devices
    • Mobile Devices
    • Accessing Thinfinity® Workspace
    • Mouse Control
    • Keyboards and Toolbars
    • Gestures
Powered by GitBook
On this page
  • Right Side Toolbar
  • Toolbar Editing Options
  • Regular Mobile Keyboard
  • Thinfinity® Extended Keyboard
  • Upper Keyboard
  • Bottom keyboard

Was this helpful?

  1. Mobile Devices

Keyboards and Toolbars

PreviousMouse ControlNextGestures

Last updated 3 months ago

Was this helpful?

Right Side Toolbar

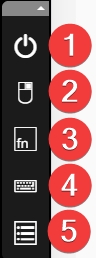
The right side toolbar will be visible from the moment you establish your remote desktop connection. By default it contains the following options :

Option
Description

1

This button disconnects the remote session. You will be prompted for confirmation.

2

This button toggles the remote mouse function to send a right button mouse click or a left button mouse click.

3

This button opens the Thinfinity® Workspace Extended Keyboard. Read more about it below.

4

This button opens the native regular mobile keyboard existing in the device. Read more about it below.

5

This button opens up the toolbar editing menu, allowing for customization of the toolbar buttons.
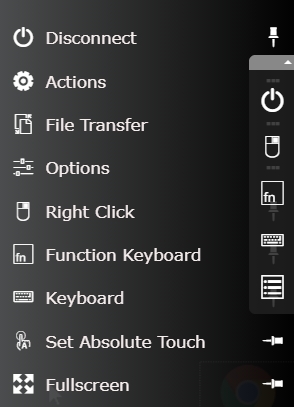
Toolbar Editing Options

Option
Description

Disconnect

This button disconnects the remote session. You will be prompted for confirmation.

Actions

This button opens the Actions menu, where you can configure

File Transfer

This button opens the File Transfer menu, for uploading/downloading files from and to the remote connection.

Options

This button opens the Options menu, where you can select the Image Quality of the connection, and enable/disable Shortcuts.

Right Click

This button toggles the remote mouse function to send a right button mouse click or a left button mouse click.

Function Keyboard

This button opens the Thinfinity® Workspace Extended Keyboard. Read more about it below.

Keyboard

This button opens the native regular mobile keyboard existing in the device. Read more about it below.

Set absolute/relative Touch

This button changes the mouse touch behavior between absolute touch and relative touch.

Fullscreen

This buttons sets the RDP connection to fullscreen in your mobile device.

Regular Mobile Keyboard

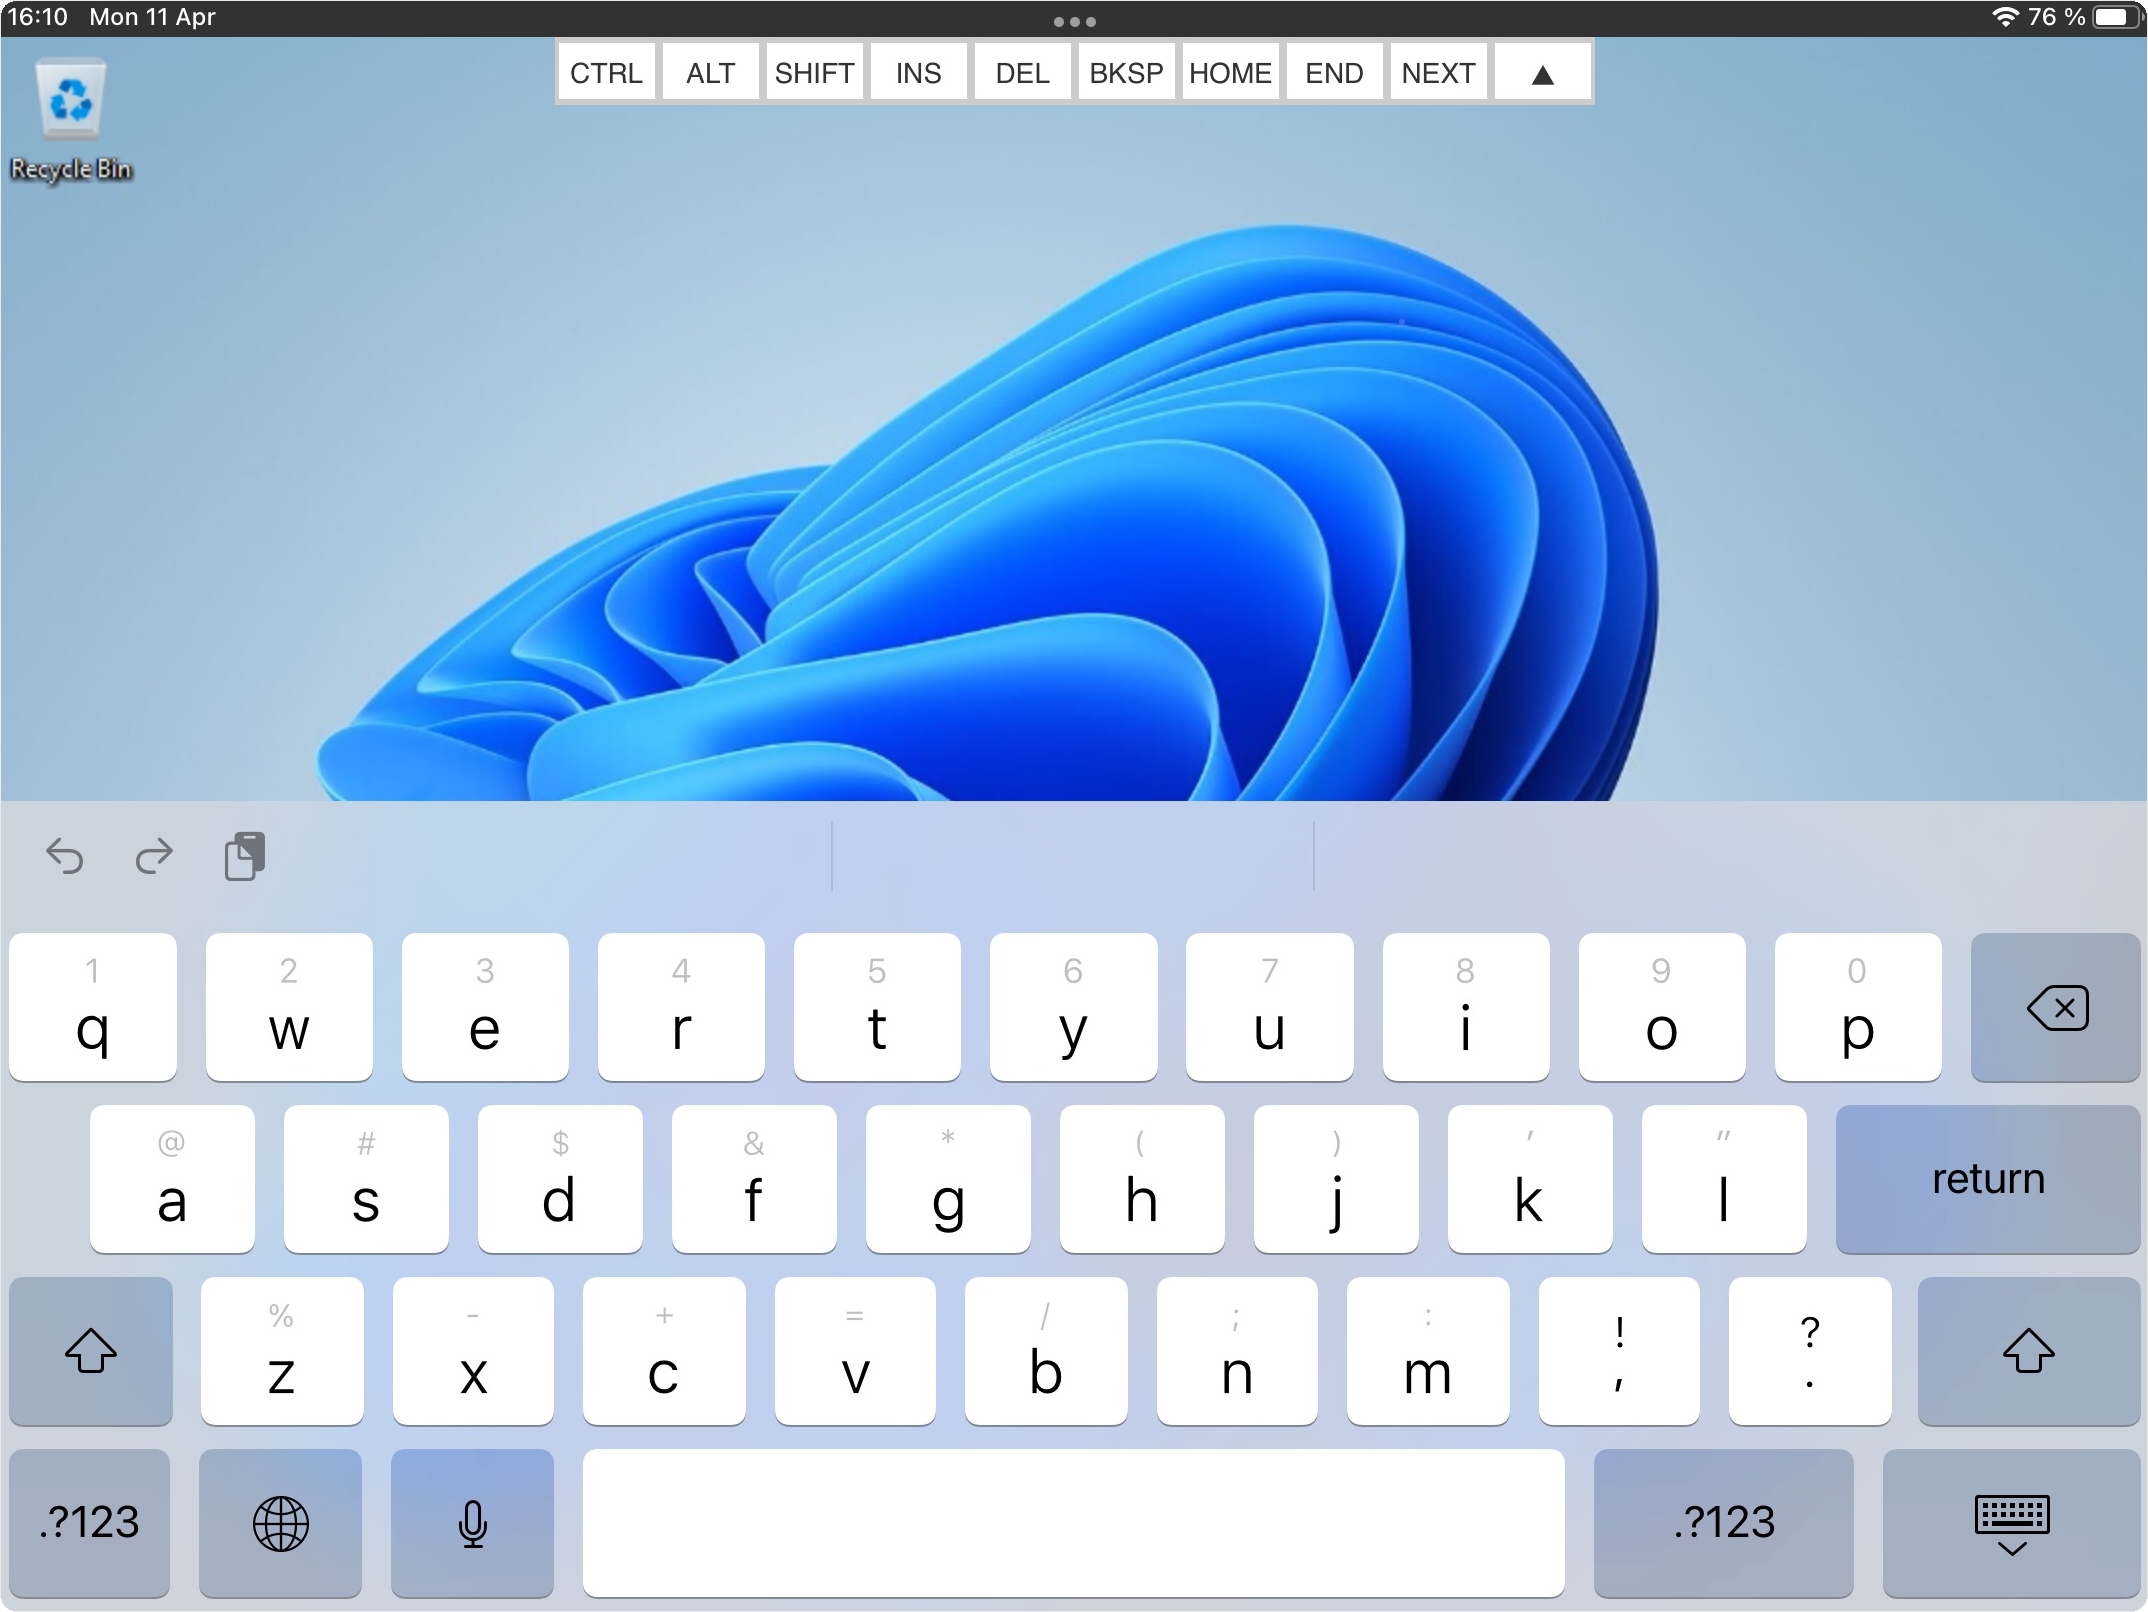
Most mobile devices feature a logical keyboard that includes keys commonly used in mobile applications. Thinfinity® Workspace allows you to access any application on a remote desktop, which is why it includes two additional keyboards for keys that may not be available on your device's keyboard.

  1. Enabling the Regular Keyboard:

  • In the "Login" or "Settings" Screen: The regular keyboard will automatically enable each time you enter a text field.

  • After Connecting to a Remote Desktop or Application: To enable the regular keyboard, tap the last button in the Thinfinity® Workspace side menu.

  1. Using the Regular Keyboard:

The use of the keyboard is intuitive. Simply touch the keys you want to type.

  • To access numbers and special characters, tap the .?123 key.

Thinfinity® Extended Keyboard

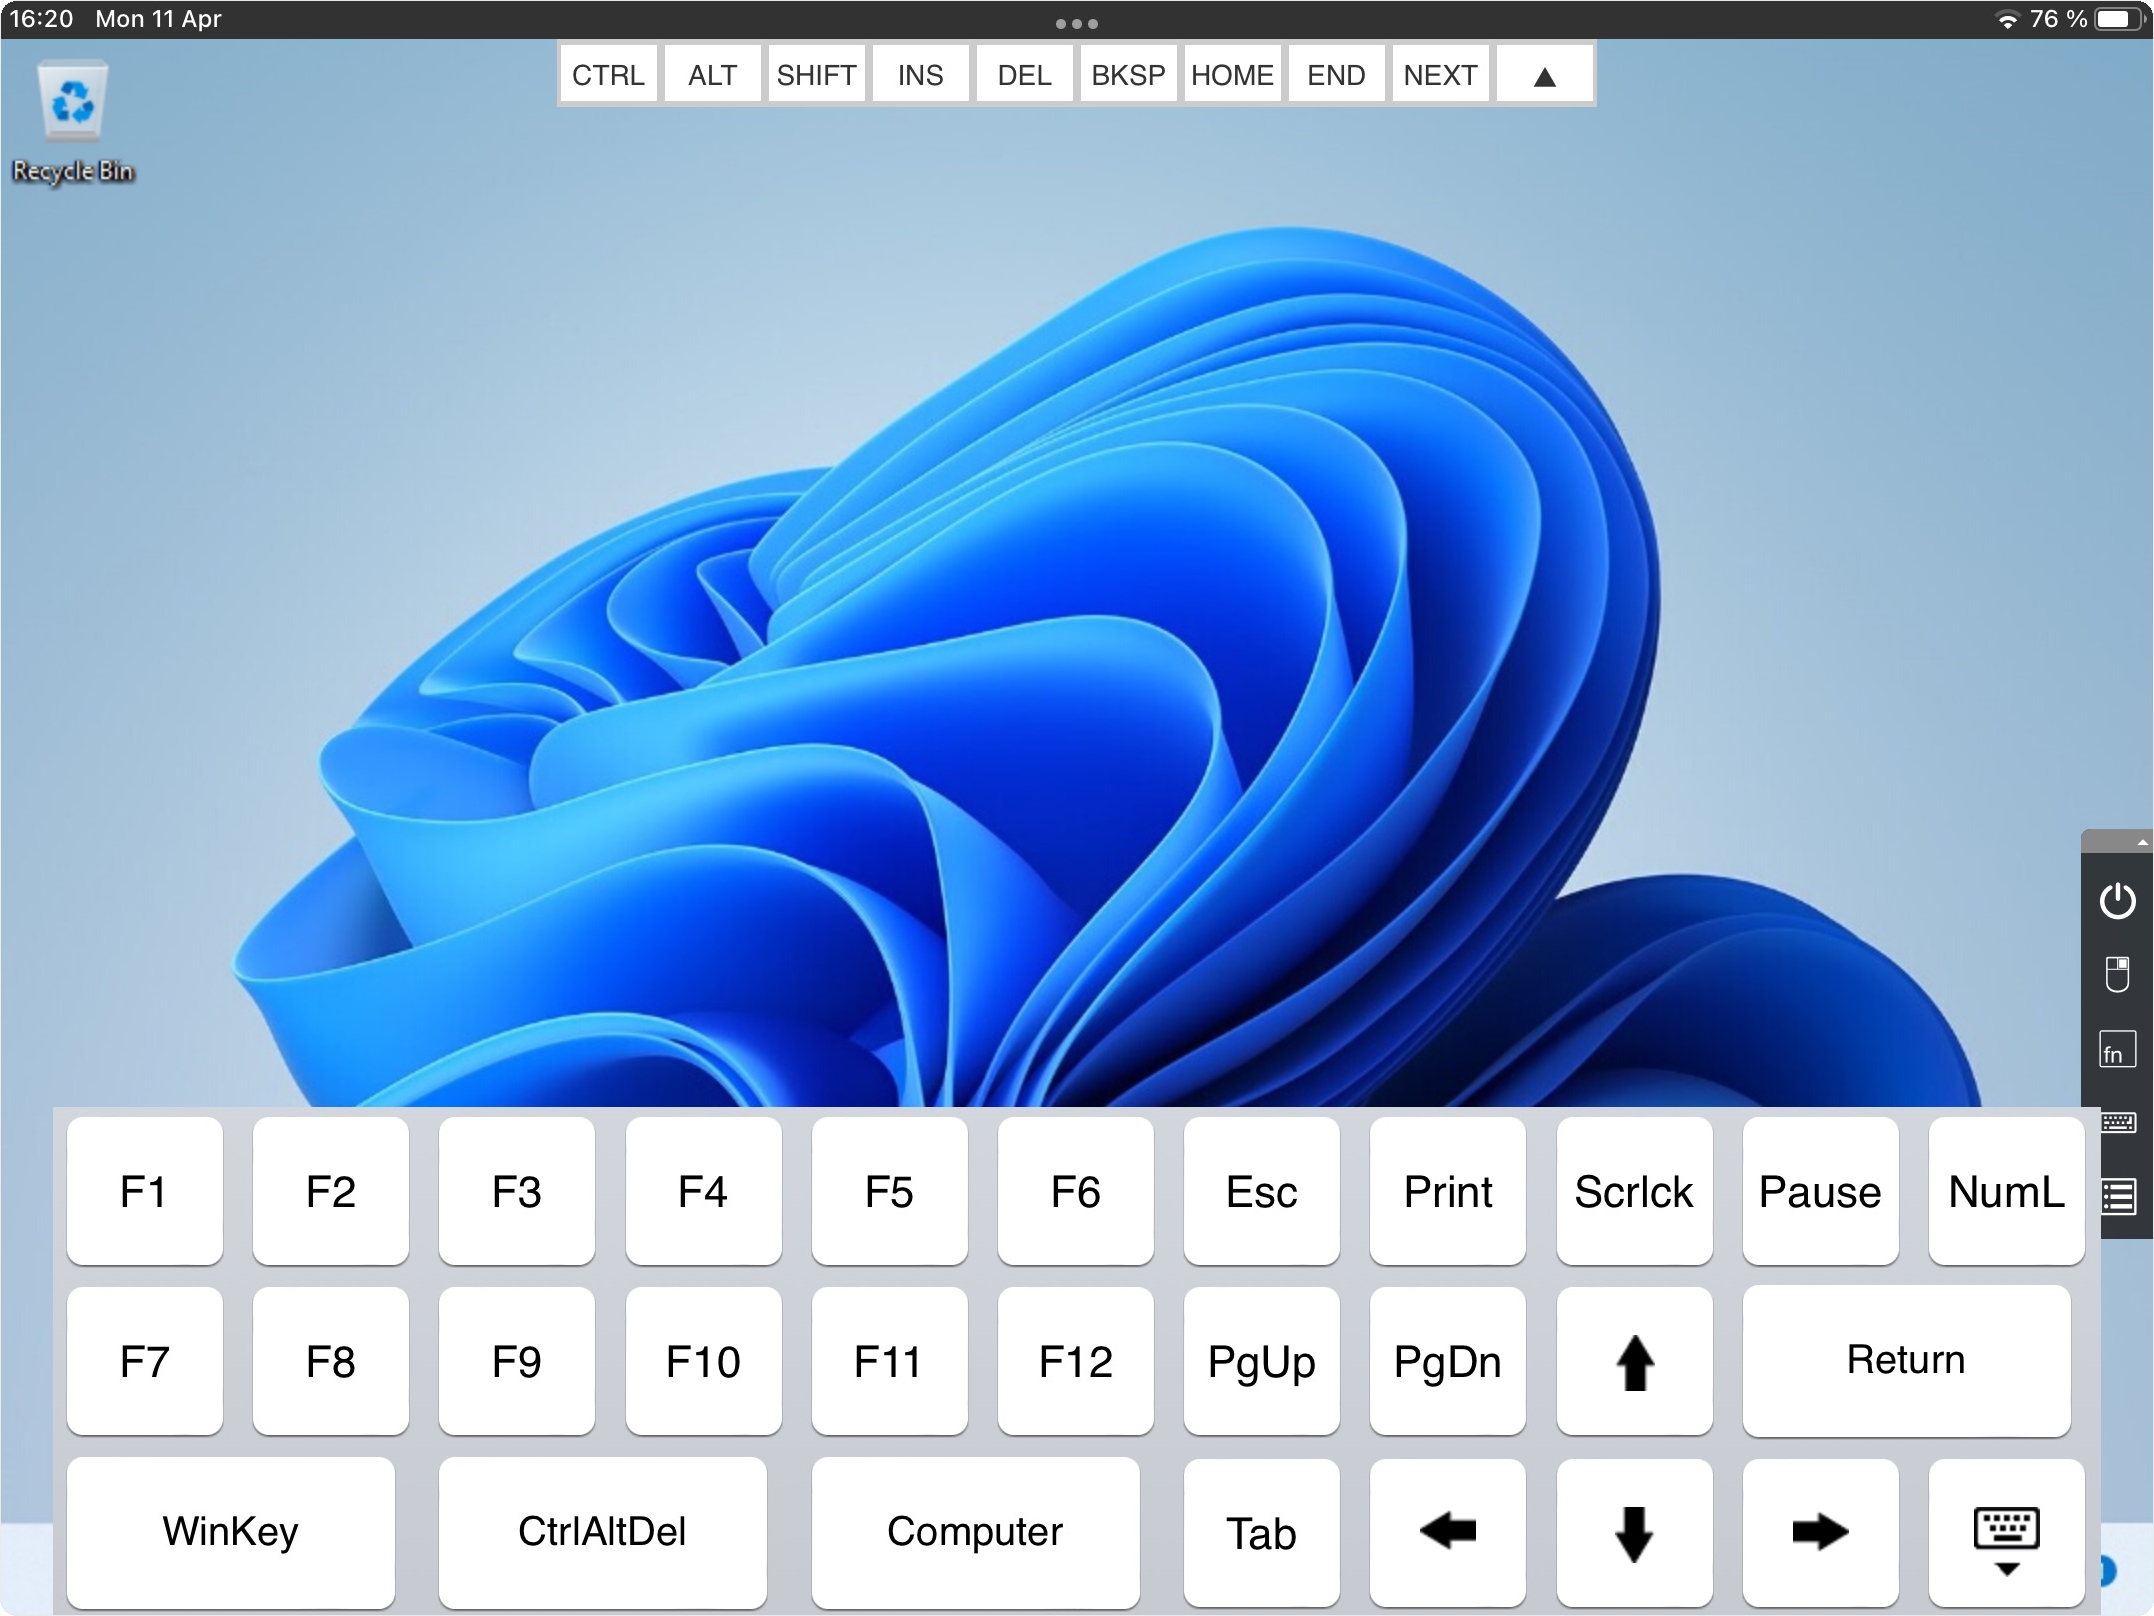
Thinfinity® Workspace includes two additional keyboards. To enable them, tap the first up-down keyboard button on the Thinfinity® side menu.

Upper Keyboard

The upper Thinfinity® keyboard features the following keys: CTRL, ALT, SHIFT, INS, DEL, HOME, END, and NEXT. This keyboard remains active until you press a valid combination of keys, such as CTRL+ALT+DEL.

Bottom keyboard

The bottom Thinfinity® Workspace keyboard includes the F1 to F12 keys, arrow keys, and additional function keys.

To hide the keyboard, press the button featuring a keyboard icon with a downward arrow at the bottom right corner.

Use the pin/unpin buttons to modify the Mobile Toolbar