LogoLogo
DownloadGet a QuoteConnect with Us
  • Introduction
    • What is Thinfinity® Workspace
    • About this Document
  • Product Overview
    • Architecture Components
    • Load Balancing
    • Deployment Scenarios Overview
    • Connectivity
      • Remote Desktop Access
      • Remote Application Access
      • Terminal Access
    • RPAM and Resource Reservation
    • Cloud Manager
    • Audit Logging
    • User Analytics
  • Getting Started
    • Basic Installation
    • Accessing Thinfinity® Workspace in Your Browser
    • Connection Types
      • Remote Desktop Connection
      • Remote App Connection
      • Remote Intranet Web App Connection
      • Telnet SSH Connection
    • Configuration
    • Security
    • Beyond the Basics
  • Reference
    • Thinfinity® Workspace Configuration Manager
      • General Tab
      • Broker Tab
      • Authentication Tab
        • Methods Tab
          • API Access Settings
          • RADIUS Settings
          • SAML Settings
          • OAuth 2.0 Settings
          • External DLL
        • Mappings Tab
        • 2FA Tab
        • Directory Services Tab
          • Local Computer Users Settings
          • Local Computer Users
          • Local Thinfinity IdP Settings
          • Computer Domain Settings
          • External Domain Settings
      • Access Profiles Tab
        • The [+] Access Profile
        • Desktop Access Profiles
          • RDC Access Profile
            • Core Settings
            • User Experience Settings
          • ThinVNC Access Profile
          • VNC/RFB Access Profile
            • User Experience Settings
        • Application Access Profiles
          • Remote App Access Profile
            • Core Settings
          • Web App Access Profiles
            • Web Link Access Profile
            • WAG Access Profile
          • VirtualUI App Access Profile
            • Core Settings
        • Web Folder Access Profile
        • Terminal Access Profiles
          • z/Scope Classic Access Profile
          • Telnet/SSH Access Profile
            • Core Settings
            • User Experience Settings
        • Label
        • Access Control Settings
      • VirtualUI Tab
      • Folders Tab
      • Permissions Tab
      • Protection Tab
      • Notifications Tab
      • Database Tab
      • z/Scope Classic Tab
      • Services Tab
      • License Tab
    • Thinfinity® Workspace Web Manager
      • Access Profiles
        • Desktop Access Profiles
          • RDC Access Profile
            • Core Settings
            • User Experience Settings
          • VNC
            • Core Settings
            • User Experience Settings
          • Thinfinity VNC
            • Core Settings
        • Application Access Profiles
          • Remote App
          • Web App
            • Web Application Gateway (WAG)
            • Web Link
          • VirtualUI App
        • Web Folder Access Profile
          • Core Settings
        • Terminal Access Profiles
          • Telnet SSH Terminal
          • Multi Terminal
        • Access Control Settings - Web Manager
      • Addons
        • Analytics
        • Brokers Monitor
        • Audit Log
        • Recordings
        • Members
        • Reports
        • Resource Reservation
    • Thinfinity® Gateway
  • Configuration
    • RBAC and Resource Reservation
      • Configuring the Resource Reservation Feature
      • Role Definition with Permissions Groups
      • Granting Approver or Requester Role to a User
      • Enabling Resource Reservation
      • Granting a User Access to a Single Access Profile
      • Granting Access Permissions for a Group of Access Profiles
      • Grouping Access Profiles Under a Label
      • Restricting Access to a Resource
      • Exception Days - No Booking Allowed
      • Booking a Resource
      • Approving a Booking Request
    • Security
      • Managing the SSL Certificate
        • Creating a Self-Signed Certificate
        • Creating a CA Certificate Request
        • Importing a Certificate
        • Using ACME Certificates
      • Session Recording
        • Viewing Recorded Sessions
    • User Experience
      • Bidirectional Audio Redirection
      • Customizing the Thinfinity® Workspace Toolbar
        • Using web.settings.js
        • Using the SDK 'connect' Method
        • Extend the Thinfinity® Workspace Toolbar
      • Customize Translation
      • GFX and H.264 Support
        • Enabling H.264 for an Access Profile
        • Preparing a Remote Desktop for H.264 Support
      • How to Enable Multi-Monitor
      • Multi-Touch Redirection
      • Redirecting Devices
      • Remote FX
      • Enhanced Browser and DPI Support
        • Display Model Inheritance
        • Properties Reference Tables
        • The Calculation Process
        • Example
    • Extended Features
      • Remote Active Directory
        • How to Install and Configure Thinfinity® Remote AD Services
        • Active Directory Credentials Mapping
      • WebBridge - Direct File Transfer
        • Installing Thinfinity® WebBridge
        • Using WebBridge
      • Silent Install Options
    • License Server Manager
      • Proxy Activation
      • Get a New Trial Serial Number
      • Activate a Serial Number Online
      • Activate a Serial Number Offline
      • Registering a License with License Server Manager
  • Deployment Scenarios
    • Single Machine Deployment
    • Distributed Deployment
    • Multitenant - Several Subdomains
    • Implementing Secondary Brokers Scenarios
      • Resource Pools
      • OT Networks
      • Multitenant - Single Domain
  • Integrations
    • Integrating Thinfinity® Workspace
    • External Authentication
      • API Key
    • Customizing the Web Interface
      • Customizing the Logo
      • Organizing custom files
    • One-Time-URL (OTURL)
      • Customizing OTURL Connection
      • Enabling Features
  • Mobile Devices
    • Mobile Devices
    • Accessing Thinfinity® Workspace
    • Mouse Control
    • Keyboards and Toolbars
    • Gestures
Powered by GitBook
On this page
  • One Browser per Session Additional Settings
  • Create Users On-Demand
  • Adding Users to Groups
  • Using Domain Users
  • Session Management Options

Was this helpful?

  1. Reference
  2. Thinfinity® Workspace Configuration Manager

VirtualUI Tab

PreviousAccess Control SettingsNextFolders Tab

Last updated 3 months ago

Was this helpful?

Thinfinity® VirtualUI is a development platform designed to enable the transformation of Windows desktop applications into web-based solutions with minimal code changes. At the core of this technology is a proprietary DLL that developers can integrate directly into their applications.

The VirtualUI tab allows configuring different parameters once the integration has been performed.

Option
Description

Mode

Allow running third-party applications

Allow Thinfinity VirtualUI to run directly under a Windows Interactive session.

Use these credentials

Check this option to enable Thinfinity VirtualUI to run under a specific Windows account. Username/Password: Enter the username and password for the Remote Desktop Services session you want Thinfinity VirtualUI to run applications under.

Test

Test the credentials entered to verify that the username and password are correct and can access the integrated app.

Create users on demand

Use predefined users

Allows to define pre-created users instead (local or domain). Users need to be created manually for this.

Use VirtualUI's logged in credentials

Select this option to use the credentials used to log in to VirtualUI.

Session Management

One Browser per Session Additional Settings

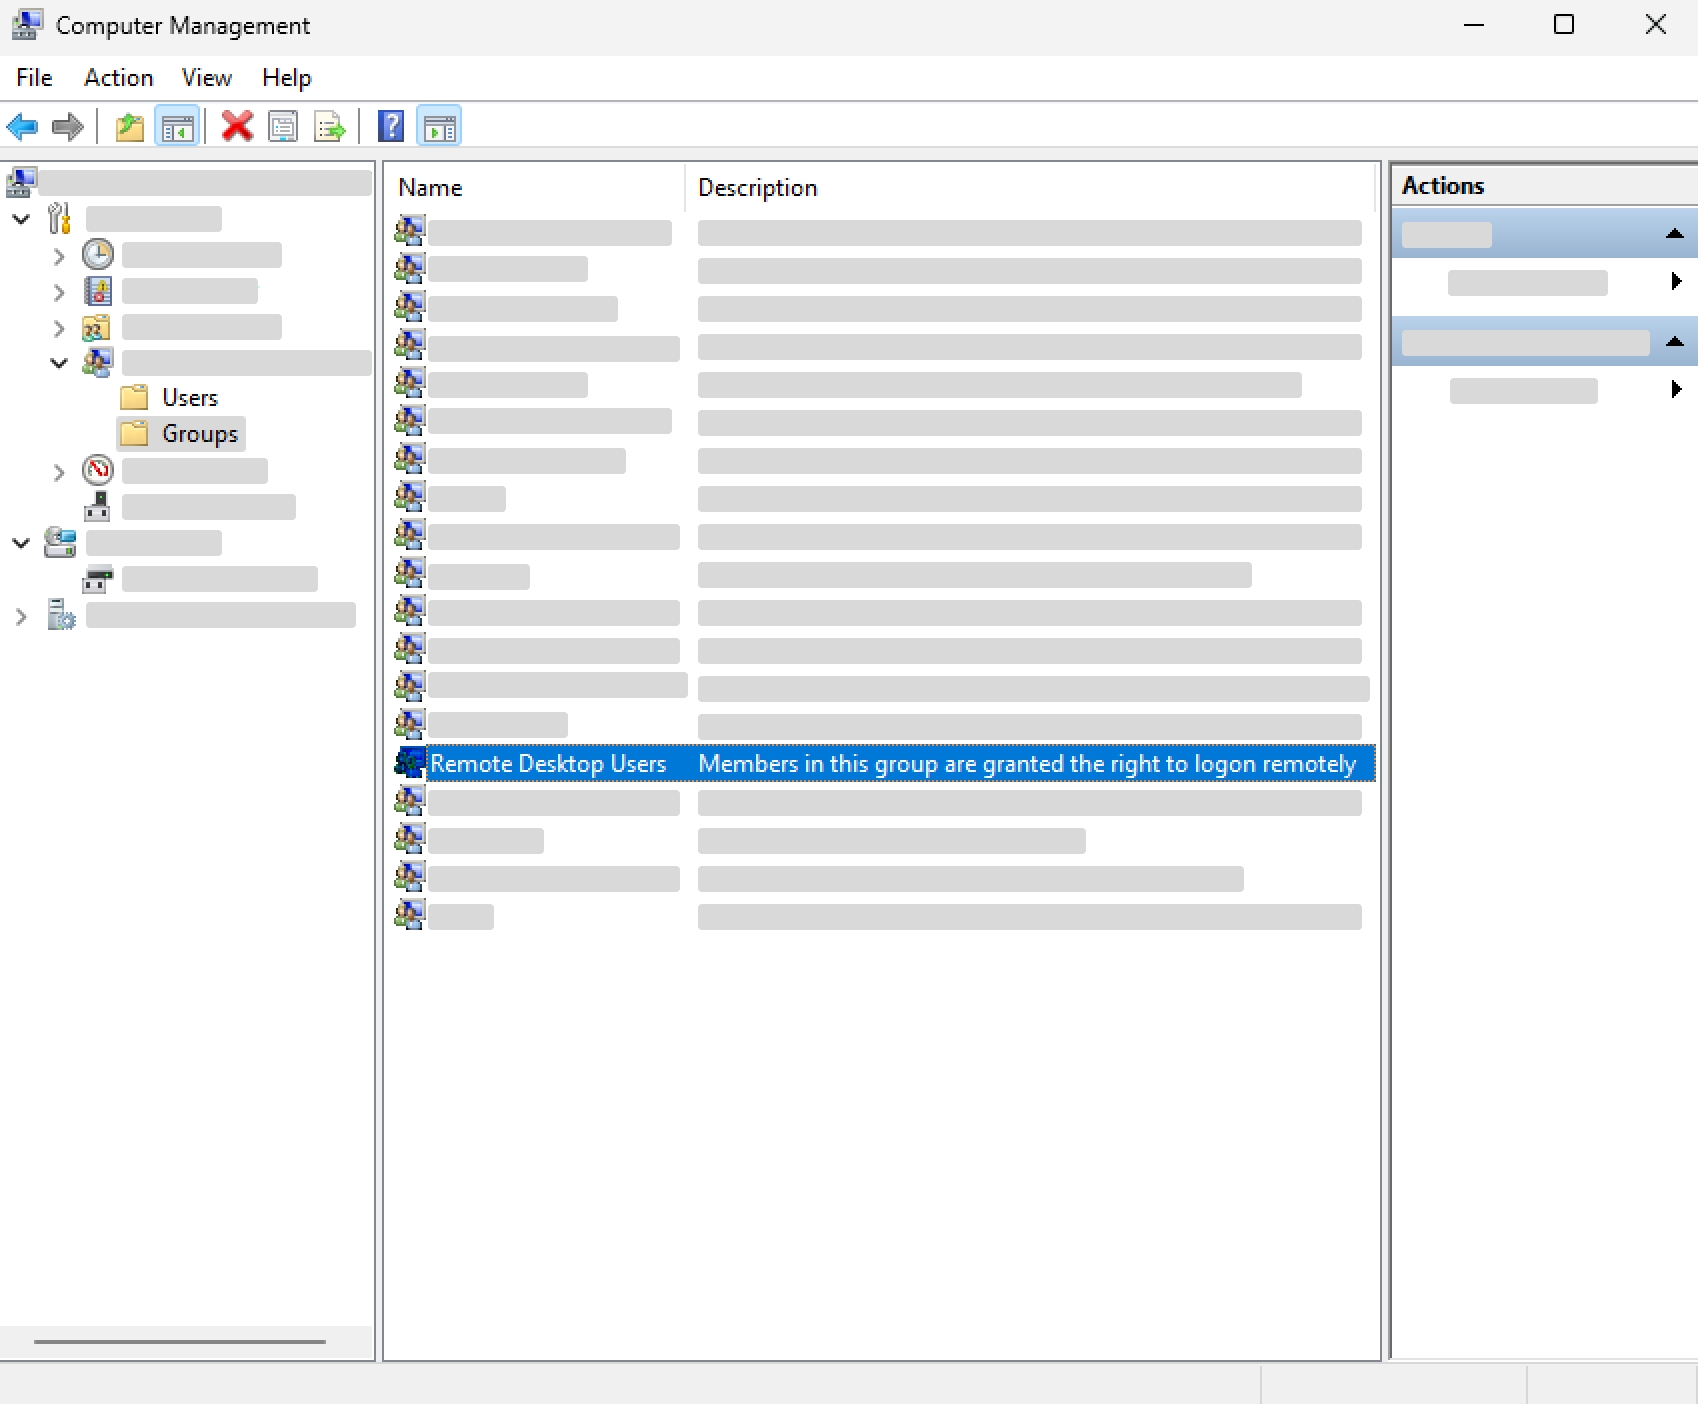
In Desktop Manager, we can only use the One Browser per Windows Session mode. We need to specify user credentials for the app execution or create/predefine allowed users. Ensure that users are part of the "Remote Desktop Users" group on Computer Management.

Create Users On-Demand

The Create Users On-Demand option in Thinfinity VirtualUI allows the system to automatically create new users whenever a new session is needed. This feature is useful for dynamic environments where user accounts are not pre-configured and need to be generated on the fly.

How It Works

VirtualUI will create users based on a predefined Username Prefix that you specify. Each new session will be associated with a unique user, incrementing the username for each subsequent session.

Example: If the prefix is set to “TestUser,” VirtualUI will generate users as "TestUser," "TestUser2," "TestUser3," and so on for each new session.

Adding Users to Groups

You can assign these newly created users to a specific group by using the Add to Group option. This ensures that the users are part of the appropriate access or security group as soon as they are created.

Using Domain Users

If you need to create domain users, include the domain in the Username Prefix. For example, use “Domain\TestUser” as the prefix. This will generate domain-specific users, such as “Domain\TestUser,” “Domain\TestUser2,” etc.

Note For this feature to work with domain users, the VirtualUI service must be configured to log in as a domain user. The domain user must also have permissions to create new domain accounts.

Session Management Options

On Demand

This is the standard mode of session management. A session is created when the user clicks on their profile. This mode ensures that sessions are launched as needed, providing flexibility and resource efficiency.

Start with Service Start

In this mode, sessions are automatically created and managed based on user configurations as soon as the service starts. Sessions are launched and disconnected without user intervention, according to predefined settings.

  • Sessions: Specifies the number of sessions pre-launched at startup. This helps ensure that the required sessions are ready to use as soon as the service is running.

  • Shared Users: By default, this is set to 1, meaning each session accommodates one user at a time. You can adjust this setting to allow multiple users to share the same session, running their applications concurrently. The service will maintain the specified number of sessions, and when a user closes an application, the session will automatically close and restart.

    • Note: The maximum number of applications that the server can run in this mode is determined by the formula: #Sessions * #Shared Users.

    • Note: When multiple users share a session, it is not guaranteed that all applications from the same user will be placed in the same session.

    • Note: Multiple agent pools can be installed to accommodate different configurations.

  • Agent Pool: Defines the tag of the agent pool. After configuring the pool, you assign the specific applications that will run under this pool. For instance, in the agent pool session configuration, you must declare the pool name to properly associate it with the designated applications.

Warning Any changes to the pool definitions will drop all the related sessions and disconnect the users connected to them.

Note Each new empty session consumes around 38.2 MB of RAM.

The default mode is One Browser per Windows Session. See the below for details.

Allows Thinfinity VirtualUI to create local user accounts for running applications. You can customize the prefix for these accounts. See the section below for details.

Allows reduction of the connection time of a VirtualUI session by having the Windows session previously launched. See section below for details.

One Browser per Session Additional Settings
Create Users on Demand
Session Management Options